 |
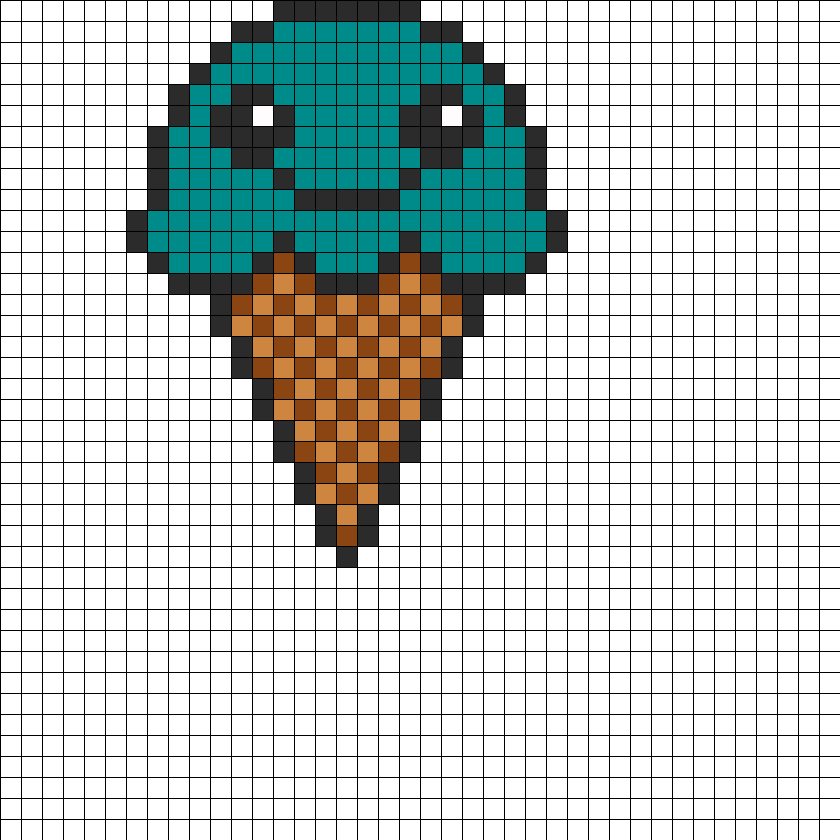
| The design was based on this, but I edited some parts. |
Monday, 28 May 2012
Design 6: Ice Cream
This morning, I made this, as I had to make another one for another neighbour. There's a part that cracked when I was fiddling with it but when I tried to iron that part again, it won't stick, so now there's a slit through it. :\
Design 5: Rubik's Cube
With the newly bought iron papers, I was able to continue making pyssla designs again. Since I had seen people online making 3D cubes, I wanted to have a try at it and took a few hours and made this.
But as you can see here, the last face couldn't be closed no matter how hard I try. It just keeps coming out, and some of the "teeth" broke too. :( Maybe next time if I want to make another cube I should use the glueing method, instead of this.
 |
| The design was based on my Rubik's cube. |
 |
| The half-success and half-failure design. |
Recommendable Iron Paper
I've finally bought the iron paper yesterday in the evening. Guess the worries for not being able to buy it was extra. And it's totally worth it. I think there are 10 sheets of them in one packet, but one sheet is around the size of two to three A4-size papers. And each one of them is very durable. And till now I'm still using the first half of iron paper and it's still in good condition. I think it's a hundred times better than the one that came with the peg boards. :)
 |
| Bought this at Daiso. |
Saturday, 26 May 2012
The Poor Iron Paper
With the numerous times of ironing, my iron paper had turned out like that. Guess I would have to buy some soon, if not I can't iron any designs and it had also caused some of my designs to get stuck with paper. The packet said there would be two iron papers provided, but in the end I found only one. But if I'm going to buy a packet of ten, it will cost around $2.50. But on second thoughts, maybe it is my problem that it turned out like this so soon. : /
 |
| The iron paper is torn. :( |
 |
| Paper had stuck onto my poor sashimi. :( |
Design 4: Sashimi
Design 3: Domo
Design 2: Happy Face
Design 1: Heart
Although I'm disappointed at my first failure, I was determined to try again. Just in case it fails again, I did a simpler and smaller design, so that it won't waste my pyssla beads.
 |
| I did this based on my imagination. |
Failed Design: Apple
So I did the design and went on to the ironing part. Maybe it's because I didn't adjust the heat correctly, and it's my first time, so it came out like this.
 |
| These are the remains. |
 |
| It was based on this design. |
The Beginning
The whole pyssla journey begins the moment I bought the beads, peg boards and iron paper from IKEA yesterday.
The moment I got home, I immediately took out all of the stuffs and decided to classify them in their colours first. But unfortunately, as I was too excited, I had only classified a little, and I just went on to making my first pyssla design. :)
The moment I got home, I immediately took out all of the stuffs and decided to classify them in their colours first. But unfortunately, as I was too excited, I had only classified a little, and I just went on to making my first pyssla design. :)
Subscribe to:
Comments (Atom)


